
1. Purpose and learning objectives
Objectives: plan a presentation, build clear slides, use visuals responsibly, rehearse delivery and verify exported material. PowerPoint supports a speaker; it should not become a wall of notes. Nursing students may use it for seminars, classroom teaching and fictional case discussions. Real patient information requires approved consent and institutional handling.
2. Planning the message
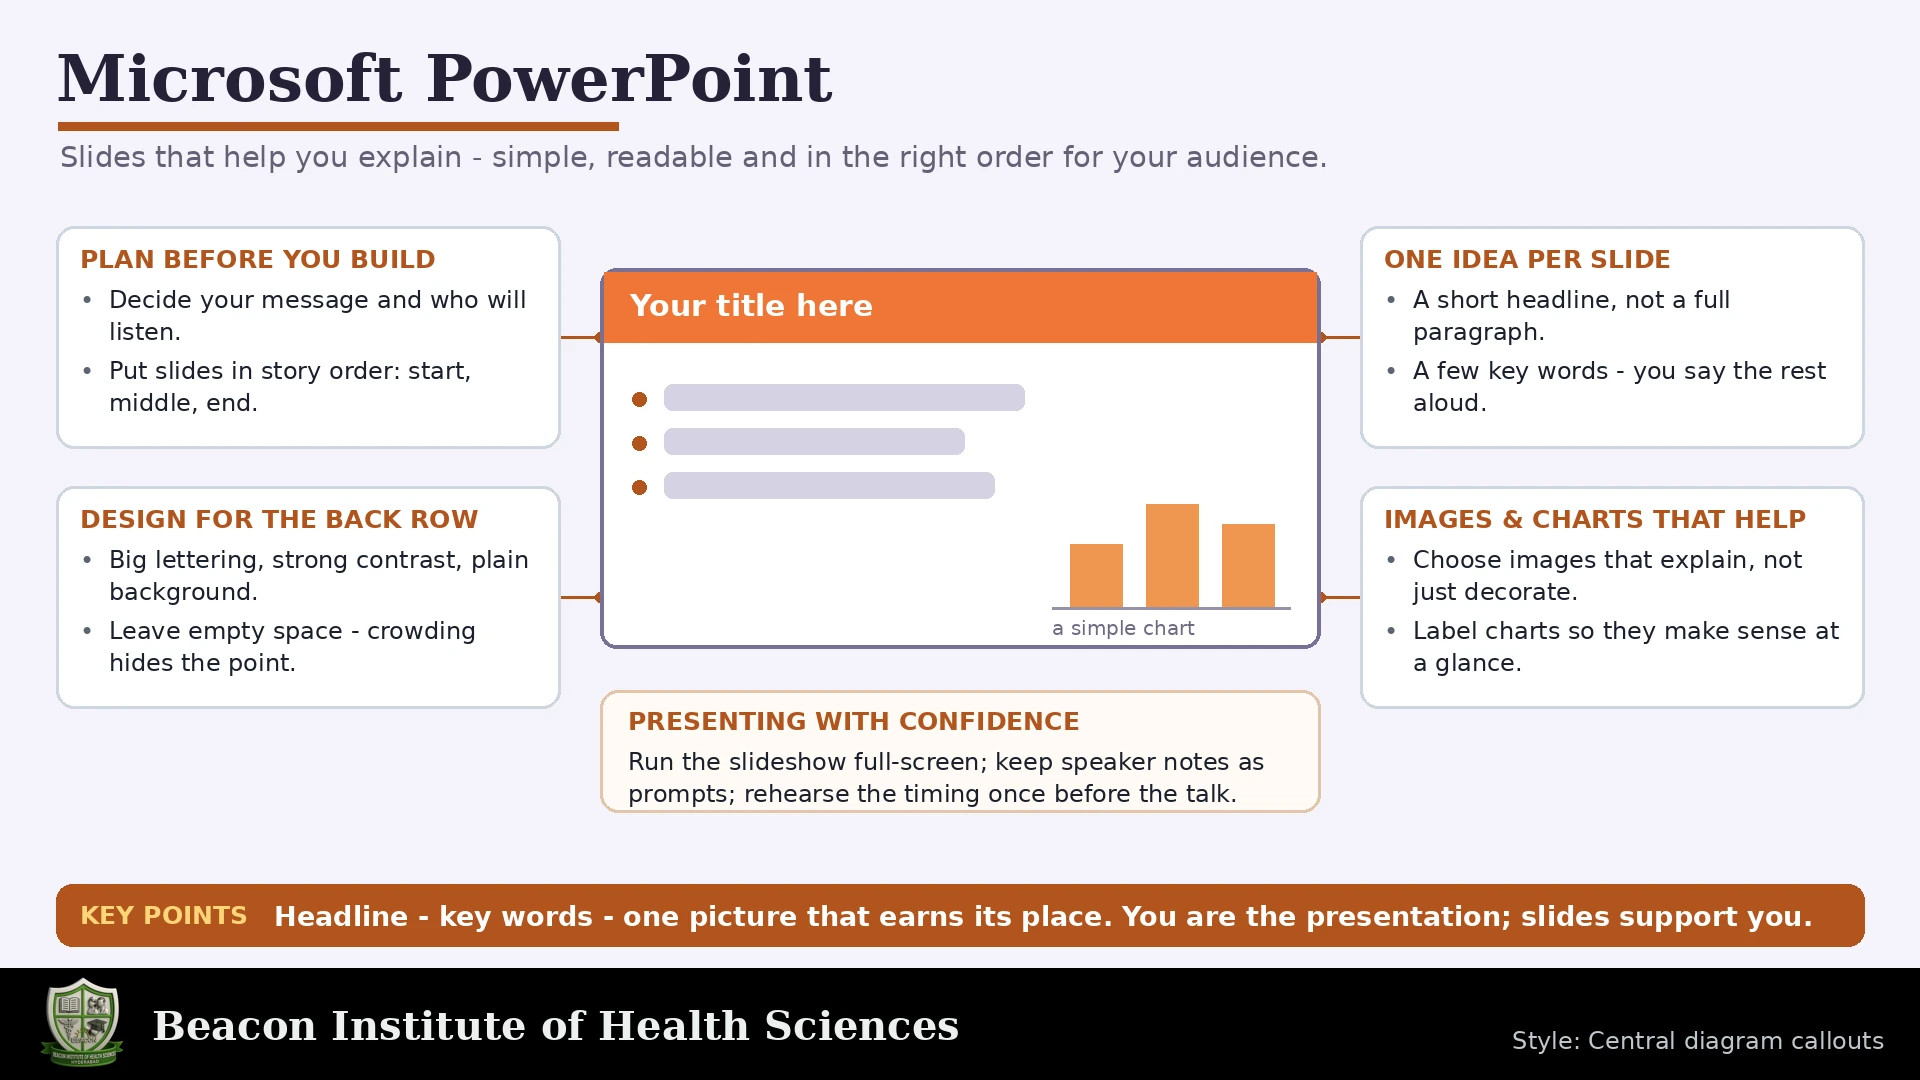
Plan before designing: define audience, purpose, time limit and learning outcomes. Select one main message for each slide. A simple sequence is title, objectives, introduction, key ideas, example, recap, questions and references. Match the level of detail to the listener. A five-minute presentation needs fewer ideas than a long lecture; no fixed number of slides suits every talk.
3. Creating and saving a presentation
Start a blank presentation or appropriate template, save early and choose a meaningful filename. .pptx is the normal editable presentation format. PDF creates static pages and does not retain interactive behavior, animation or video playback. Desktop, web and mobile editions differ; check the available commands and rehearse on the actual equipment.
4. Layouts and visual consistency
Use slide layouts and placeholders for consistent alignment. A slide master can manage repeated style elements and layouts; avoid manually moving every title. Choose a readable font, generous space and strong contrast. Keep text concise and explain details aloud. There is no universal six-by-six rule; readability and message clarity guide decisions.
5. Writing slide content
Titles should state the idea clearly. Use a logical reading order and meaningful headings. Bullets should be parallel and brief. Avoid putting complete textbook paragraphs on slides. Important definitions can be short; detailed study notes belong in a handout or speaker notes. Cite borrowed information without crowding the slide.
6. Images, diagrams and charts
Visuals: use diagrams to explain relationships and charts to show numerical comparisons. Preserve image proportions and crop carefully. Label chart axes and units, identify the data source and avoid misleading scale choices. Use fictional practice data. Never present decorative illustrations as measured evidence or use unauthorized patient photographs.
7. Accessible presentations
Accessibility: add meaningful alternative text, maintain sufficient contrast, give every slide a useful title and check reading order. Do not rely on color alone. Use captions for relevant audio or video where available. Run the accessibility checker and inspect slides manually. Small text remains difficult even when no automated warning appears.
8. Transitions, animation and media
Transitions occur between slides; animations change objects within a slide. Use both sparingly and only when they improve understanding. Excess motion can distract. Check animation order and media playback. Internet-dependent media may fail offline; verify permissions and have a suitable backup. Do not assume every computer has your fonts or software features.
9. Speaker notes and Presenter View
Speaker notes support reminders, timing and source details. Presenter View may show notes and the next slide while the audience sees the current slide, depending on the display setup. Test the arrangement before speaking so private notes are not projected. Practise advancing, returning to a slide and handling questions.
10. Delivery and audience interaction
Delivery: face the audience, use a steady pace and explain rather than read. Rehearse the opening, transitions and conclusion. Allow time for questions and admit uncertainty. A slide cannot replace a clinical demonstration or local competency assessment. Patient teaching requires language and examples suitable for the person, not merely sophisticated design.
11. Model presentation outline
Fictional model outline: title Study Habits for Skills-Laboratory Preparation; objective identify three preparation habits; slide one organize approved material; slide two practise with supervision; slide three review feedback; example show a fictional weekly schedule; recap list the habits; final slide sources and questions. Keep the focus educational and avoid claiming unsupported improvements in outcomes.
12. Practical assignment
Practical exercise: create an eight-slide classroom deck from that outline. Insert one original diagram and one small chart using fictional attendance values. Add notes and alternative text. Rehearse for five minutes, verify spelling and source attribution, then export PDF and inspect it. Compare the PDF with slides and test the presentation on the intended display.
13. Troubleshooting
Troubleshooting: if text overflows, shorten content or split the idea instead of shrinking everything. If a picture distorts, restore proportions. If media fails, check the file, permissions and connection. If the audience sees notes, check display settings. Keep an approved backup and know how to deliver without the slides.
14. Answered review and recap
Answered practice: What distinguishes animation from transition? Objects versus slide changes. Why test on actual equipment? Fonts, display and media can differ. Does PDF preserve video playback? No. What makes a chart trustworthy? Correct labels, units, scales and source. What should a slide mainly do? Support a clear message. Recap: plan, simplify, rehearse and verify.
15. Worked learning activities and final checks
For a slide revision exercise, take a crowded paragraph and identify its main message. Write that message as a title, retain three short supporting points and move the explanation into speaker notes. Read the slide at presentation distance. If it still feels crowded, split the material into two ideas. The purpose is to improve understanding, not to hide important details through overly small text.
For a chart exercise, use fictional weekly classroom attendance of 20, 22, 21 and 24 students. Label the weeks and state that the values are practice data. A column chart can compare the four weeks; a line chart emphasizes the ordered sequence. Explain that the chart describes attendance and does not prove why it changed. If the class size differs by week, consider percentages with explicit denominators before comparing participation.
Rehearsal should include technical and speaking practice. Start the slide show, check the projected view, advance through every slide and test any media. Practise explaining the diagram without reading a script word for word. Ask a classmate whether the conclusion matches the objective. Record actual duration and reduce material if time is exceeded. Save a compatible backup using approved storage.
A final check should cover factual accuracy, readable text, appropriate contrast, working sources, image permissions and the absence of confidential material. Review the exported PDF too, because static pages may differ from the interactive presentation. If equipment fails, use the planned outline to explain the key ideas verbally and provide an approved handout. Good preparation includes knowing the topic well enough to continue without animation or slides.